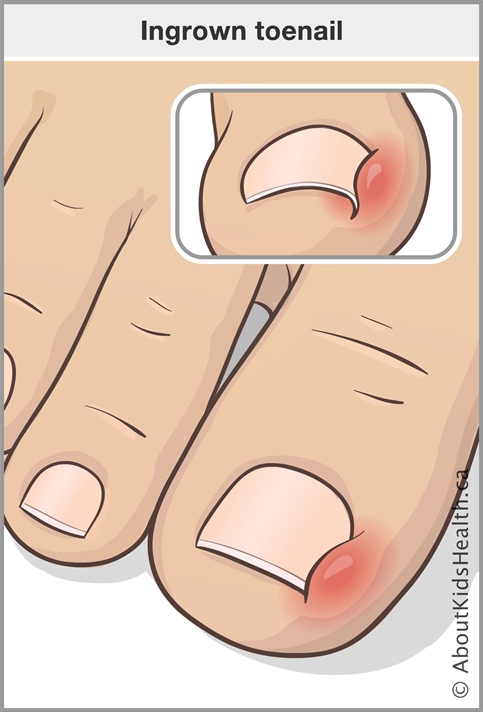
Ingrown Toenail Procedure

Ingrown toenails can quickly turn an ordinary day into a painful and uncomfortable experience. An ingrown toenail occurs when the edge or corner of a toenail grows into the surrounding skin, leading to pain, redness, and inflammation. In most cases the nail spike can be removed with clippers but sometimes the nail can be ingrown from the root meaning a minor procedure is necessary.
Partial nail avulsion, also known as wedge resection, is a common procedure performed in our clinic. Whether you're experiencing ingrown nails, chronic infections, or other nail-related issues, attending the clinic for a partial nail avulsion can provide you with the relief and long-term solution you need. In this blog post, we will guide you through the process of what to expect when attending our clinic for a partial nail avulsion, ensuring that you feel informed and prepared for your visit.
1. Initial Consultation:
The first step in the process is scheduling an initial consultation at our clinic. During this appointment, you will have the opportunity to discuss your symptoms and concerns with our podiatrist. They will examine your nail condition, ask questions about your medical history, and determine whether a partial nail avulsion is the appropriate treatment for you.
2. Preparing for the Procedure:
Once it has been determined that a partial nail avulsion is necessary, we will then provide you with detailed instructions on how to prepare for the procedure. This may involve:
- Medication: Depending on your specific needs, you may be prescribed antibiotics or pain medication to take before the procedure.
- Footwear: It is advisable to wear loose-fitting and comfortable footwear such has thongs, slides or sandals on the day of your procedure. This will provide enough space for the dressing to be applied and ensure you are able to remove your dressing easily.
- Transport: If a PNA is done on the right toe we always recommend you have someone to drive you home after the procedure as the anesthetic will not wear off until a few hours after the procedure.
3. The Procedure:
On the day of the partial nail avulsion, you will arrive at the clinic and be greeted by the healthcare team. It is a 40 minute walk in – walk out procedure and typically involves the following steps:
- Sterilization: The podiatrist will thoroughly clean the area around the affected nail and sterilize the tools to minimize the risk of infection.
- Numbing: Local anesthesia will be administered to numb the toe and minimize any discomfort during the procedure.
- Partial Nail Removal: Using specialized tools, the podiatrist will carefully remove the portion of the nail causing the problem. This procedure is relatively quick and generally painless due to the prior numbing.
- Penalisation: a diluted acid called phenol will be applied to the nail root to stop the affected section from growing back. We always want to remove enough nail to get a therapeutic effect but not too much for cosmetic reasons.
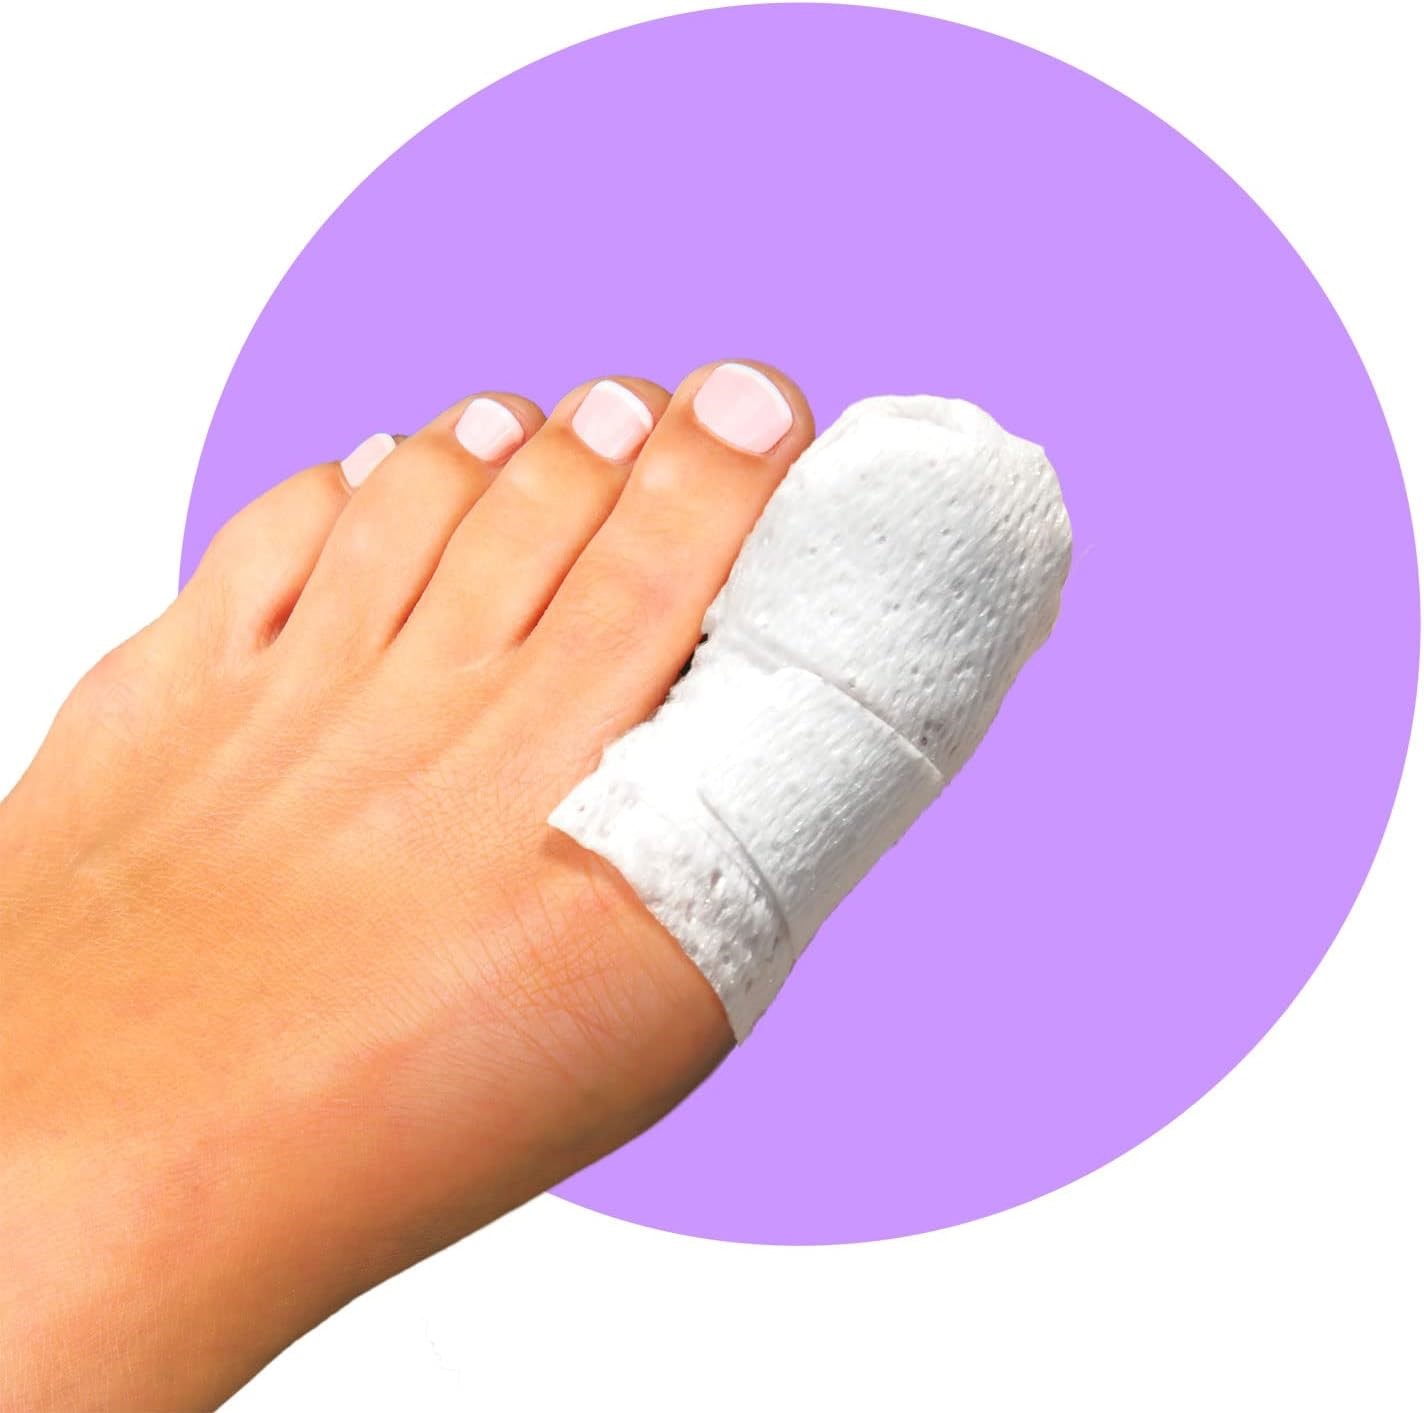
- Wound Care: After removing the nail, the podiatrist will clean the wound, apply antiseptic solutions or ointments, and dress it with sterile bandages and will provide you with instructions for wound care at home.
4. Post-Procedure Care:
Following the partial nail avulsion, the podiatrist will provide you with detailed post-procedure instructions and organise follow up review appointments to ensure proper healing and prevention of any infection.
Conclusion:
Attending our clinic for a partial nail avulsion can provide significant relief from painful nail conditions and improve your overall well-being. By following the steps outlined in this guide, you can be better prepared for your clinic visit and have a clear understanding of what to expect during and after the procedure. Remember, effective communication with your healthcare provider and diligent post-procedure care are crucial for a successful recovery.
About the Author